This past year has made it a lot harder to have a nice, luxurious facial or peel. We’re all staying home more than ever and it can be intimidating to do a peel on your own. Well, say hello to the Dr. esthé Goat Milk Peel! This simple, gentle, at-home peel kit makes giving your skin a special exfoliating treatment easy as can be! What’s more, this non-inflammatory peel is great for acne-prone and sensitive skin types. Today I’m going to breakdown why this peel is so fabulous and how to use it. Let’s dive right in!
What Is The Dr. esthé Goat Milk Peel?
The biggest thing that sets Dr. esthé’s Goat Milk Peel apart from the competition is how anti-inflammatory it is. As you may or may not know, inflammation is one of the leading factors that cause accelerated aging. As a result, we tend to recommend skincare that reduces inflammation as part of an anti-aging regimen. It makes sense then that this peel program is great for bringing out the best in your skin.
Goat milk is great because it contains fatty acids, amino acids, probiotics, vitamins, and lactic acid. Beyond that, this powerhouse ingredient is also gentle and soothing. This might be due to goat milk’s similar profile to human milk. Subsequently, our skin views goat milk as being compatible and accepts it more readily than other active ingredients.
Polyhydroxy Acid (PHA)
This peel has another secret weapon that makes it a must-have; polyhydroxy acid in the form of gluconolactone. This alternative to Alpha Hydroxy Acids like glycolic acid and mandelic acid works to gently exfoliate dead skin cells. What sets PHAs like gluconolactone apart from AHA is that they are even larger. Therefore they tend to penetrate less into the skin and cause less irritation. Beyond that, PHA also works extremely well alongside AHA. This is important for this peel since it also has plenty of lactic acid, a more gentle AHA.
Due to these qualities, the Dr. esthé peel excels at exfoliating dead skin cells without upsetting skin. This means you can level out your skin tone and texture with ease, no matter what skin type you have. For this reason, I adore using this peel above almost any other option around.
Goat Milk Ampoule
Another great thing about this peel program is that it comes with a powerful, soothing ampoule. If you’re not familiar with ampoules, they are a potent subset of serums that are super popular in the Korean beauty scene. This potent ampoule is full of goat milk, niacinamide, hyaluronic acid, aloe vera, and plenty of botanical extracts. As a result, it relaxes, calms, and brightens skin like few other products. If you really enjoy this ampoule you can order a bottle of it on its own too!
Dr. esthé Goat Milk Peel: The Bottom Line
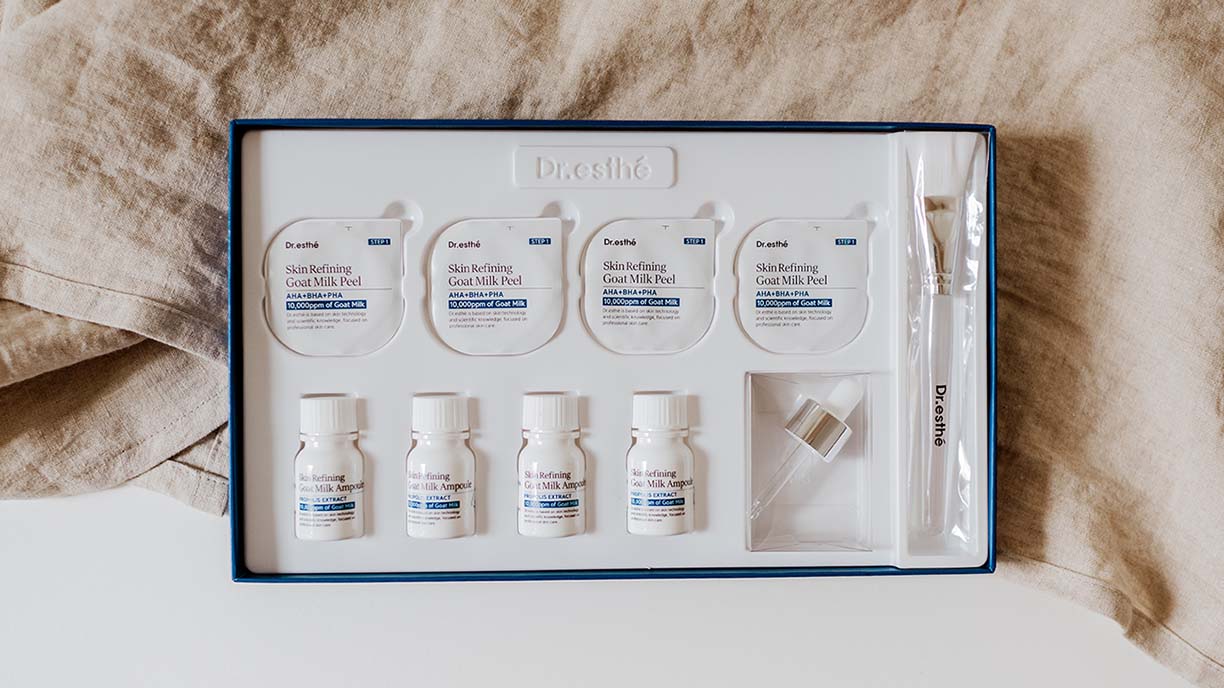
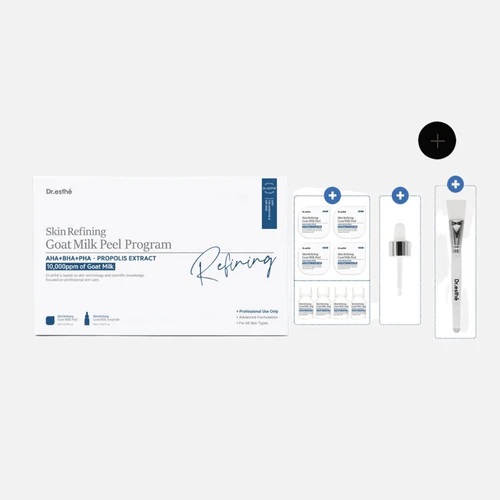
Both parts of this peel program work in tandem to exfoliate and brighten skin like no other. Thanks to the gentle nature of the peel and ampoule, it’s also great for all skin types as well! If you’re looking to refresh your skin and luxuriate, I highly recommend giving it a shot. The peel comes in a four-week program or a single unit, so you can try it out very easily and with no risk. The program comes with some extra goodies, like an ampoule dropper and an application brush, so I do recommend it. Additionally, using the peel four weeks in a row will give you fabulous results.
How To Use The Peel
Okay, so I’ve talked a lot about how great this peel is, so let’s dive into how to use it and get the most out of it. We’ll start with a basic peel, then I’ll show you my advanced protocol with some extra steps!
Basic Peel Protocol
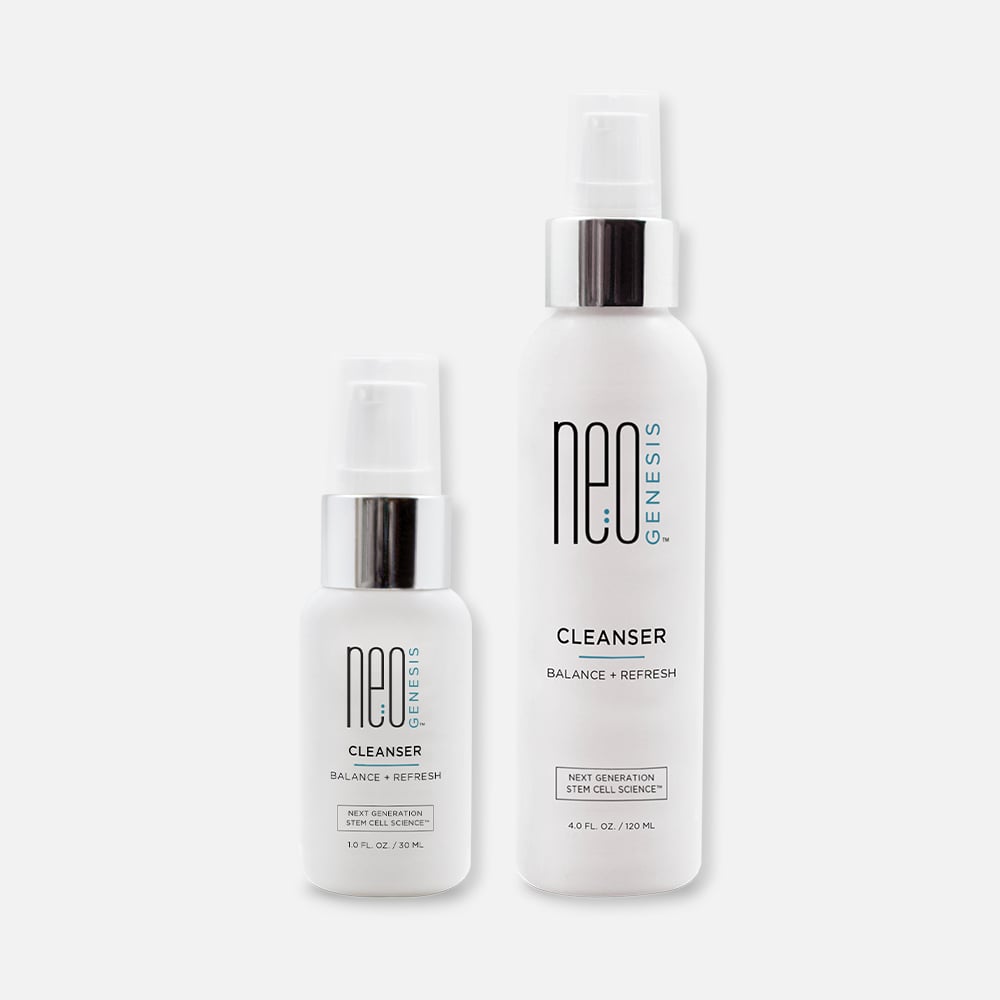
- Prep: Start by cleansing the face twice. I recommend using a gentle gel cleanser like the NeoGenesis Cleanser, Sorella Apothecary Orange You Jelly, or Face Reality Ultra Gentle Cleanser.
- The peel will not be quite as effective if not well prepped.
- Additionally, oily skin types may want to use a toner to degrease the skin a little.
- Step 1: Open up the Goat Milk Peel container. Using the applicator brush, apply the entire peel evenly to clean, dry skin. Exclude your eye, lip, and neck area.
- If you got a single peel and do not have the brush, you can use your hands. Make sure to wash them after application.
- Step 2: Allow the peel to remain on the skin for about one to five minutes. Once you feel a tingling sensation, it’s time to take it off!
- Step 3: Remove the peel with lukewarm water. I highly recommend using an AOS Lush Cloth.
- Acne-clients may wish to wash their faces with a little Face Reality Ultra Gentle Cleanser as well.
- Step 4: Apply five droppers of the Goat Milk Ampoule evenly over your face. This should be about half of the mini-bottle if you do not have the dropper.
- Step 5: Over the course of the next two to three days, apply a little bit of the remainder of the ampoule to your face.
Jeana’s Goat Milk Lift Protocol
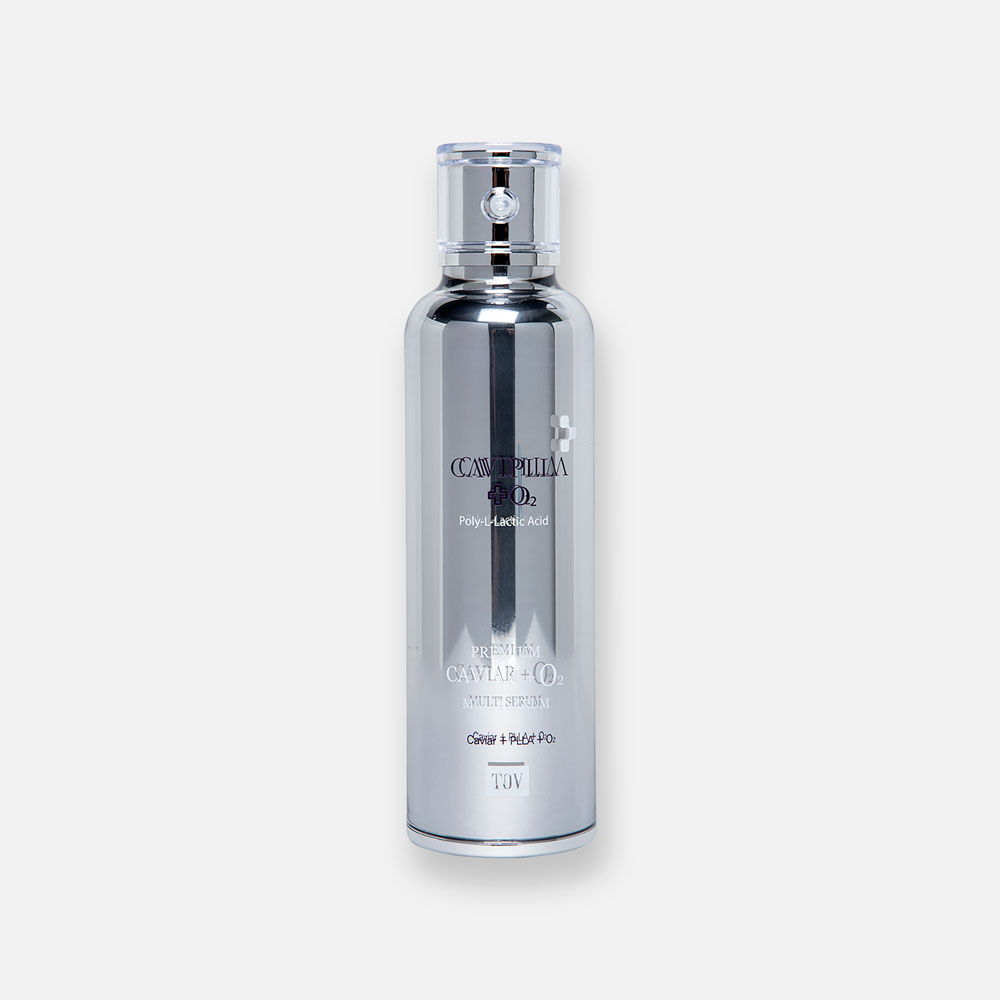
This advanced protocol is how I get the absolute most out of my Dr. esthé Goat Milk Peel. It features some of my all time favorite skincare products likes Caviplla Premier Caviar & O2 Multi Serum for maximum anti-aging effects. I hope you enjoy!
- Step 1: Prep the skin by cleansing twice. Dry and sensitive skin types should use a gentle gel cleanser, like NeoGenesis Cleanser, twice. Other skin types should use the gel cleanser once, followed by Dr. esthé Enzyme Deep Clear Powder Wash for extra exfoliation.
- Step 2: Open up the Goat Milk Peel container. Using the applicator brush, apply the entire peel evenly to clean, dry skin. Exclude your eye, lip, and neck area.
- Step 3: Let the peel sit on your face for one to five minutes, until you feel a tingly sensation. Once you feel the tingles, it’s time for the next step!
- Step 4: Remove the peel with warm water and an AOS Lush Cloth.
- Step 5: Apply five pumps of Caviplla Premier Caviar & O2 Multi Serum onto your face and neck.
- Maximize absorption of massaging in circular motions. When bubbles start to form, continue to massage using firm pressure until the bubbles are gone. Do not rinse!
- Step 6: Now, apply Hydra Velvet PLLA Sheet Mask. Be careful not to get any in your eyes. From my own experience, it stings a lot!
- Step 7: Lay down, relax, and luxuriate. Leave the mask on about 20 minutes. Once you take it off, do not rinse your skin!
- Step 8: Apply Goat Milk Ampoule using about half of the bottle. This will leave the skin moist and glowing. Apply a little bit of the bottle every day afterward for two to three days!
Post Peel Care
Regardless of which peel you did, you have to make sure to protect your skin. For three to five days after your peel, avoid sun exposure and do not use acid toners, acid serums, or anything with retinol. Use the gentle cleanser of your choice and follow with the Goat Milk Ampoule and your preferred moisturizer.
Above all else, make sure to wear SPF every day! This is essential regardless of what kind of exfoliation you are treating your skin with. I recommend using SPF 40+ and wearing a hat as well. One of my personal favorites is AOS Skin Perfection, but any nice sunscreen will do!
Well, I hope you enjoyed today’s blog post! If you have any questions or concerns, please feel free to leave a comment below or reach out to us. Until next time, may your skin be radiant and glowing!
Comments (2)
I use several products from Sorella and Le Mieux. It has become confusing and expensive. Can you help me by telling me if I am duplicating products that have the same benefits or ingredients?
Hi Cheryl! We are happy to help with that. If you click the question mark on the left side of our website, you will be connected to one of our amazing Estheticians. They can work with you to perfect your routine and make sure you don’t have any redundant steps :).